A New Players Guide to Slime Rancher
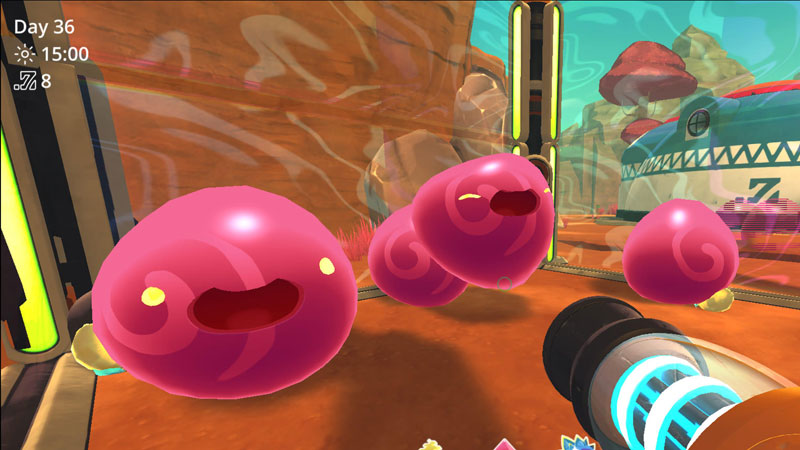
Slime Rancher is a unique sandbox farming game where you build a ranch full of slimes. There are no cows or sheep here, but there are chickens!
If you prefer games with clear goals, it can feel a bit overwhelming at first since there aren’t set missions or tasks. I felt this way when I started, so I put together the guide I wish I’d had!
In this guide, you’ll find all the basics plus a simple step-by-step path to help you get started.
Overview
In Slime Rancher, you play as Beatrix LeBeau, a rancher who leaves Earth behind to start a life managing slimes on the Far, Far Range.
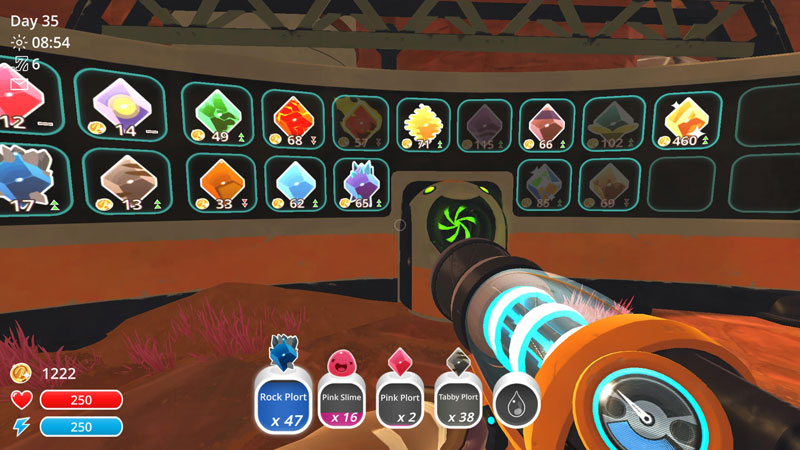
It has a very simple gameplay loop. You collect and sell plorts from slimes, which you use to expand your ranch, upgrade your Vacpack, and build new gadgets in the lab.
As you explore, you unlock new areas and discover more slimes that produce even more valuable plorts.
Plorts
Slimes produce plorts whenever they eat, but if you feed them their favourite food, you’ll get double the plorts. Their favourite foods are listed in the slimepedia.
At first, you can sell plorts on the plort market to earn money. Later, once you unlock the lab, you can use plorts to craft Slime Science gadgets.
Plorts can also be used to create largos. If you feed a slime a plort from another slime type, it will transform into a hybrid called a largo.
The Plort Market and Maximising Profits
The plort market works on supply and demand. If you sell a lot of one type of plort, the price will drop the next day. If you hold onto your plorts and wait, their value will go up.
This is where silos come in. You can store your plorts in silos and wait for the price to go up before selling. If you want to see the highest prices each plort can reach, you can check them here.
Once the price reaches a rate you’re happy with, just sell your plorts.
But honestly, I wouldn’t worry too much about this, especially when you’re just starting out. Most of the time, I just sold my plorts as I collected them and never ran into any money problems.
Tarr Slimes
If a largo eats a plort from a different type of slime, it turns into a tarr slime.
Tarr slimes are hostile and will eat other slimes, causing them to multiply and start tarr outbreaks.
This is why it’s important to manage your ranch effectively, so stray plorts don’t get eaten, and you don’t risk losing your slimes.
If you do end up with tarr slime on your ranch, they can be removed with water.
Tip: If you don’t want to worry about tarrs, you can play in casual mode. This will eliminate tarrs completey from the game.
Gordo Slimes
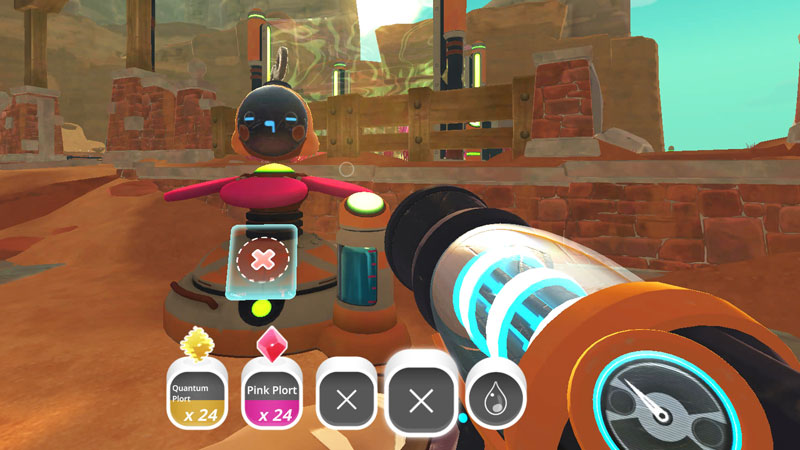
Gordo slimes are large slimes that don’t move. When you feed them, you can get rewards such as slime keys, crates, or teleporters.
To unlock a Gordo, you need to give it 50 pieces of food. If you use its favourite food, each one counts as two, so you only need 25.
Largos
Largos are a combination of two different slimes. They are created when a slime eats a plort from another type of slime.
For example, if a pink slime eats a rock plort, it will turn into a pink rock largo. It also works the other way round, a rock slime eating a pink plort, will also create a pink rock largo.
The reason you want to keep largos on your ranch is that they give you twice as many plorts for the same amount of food.
You also want your ranch to produce every type of plort, and largos are the only way to achieve this in the beginning. Since you only have 26 plots on your ranch, combining slimes lets you collect more types of plorts in less space.

This is because largos always produce two types of plorts, one from each slime they are made from. This means each corral gives you two kinds of plorts instead of just one.
Basically, you have limited plots, and largos are the only way to keep two slimes per corral.
It also makes feeding your slimes much more efficient, and you’ll use fewer plots to grow their food, which I’ll go into more detail about below.
Non-Largos
Puddle slimes and fire slimes are the only two types that can’t become largos. They don’t live in corrals, either. Puddle slimes live in ponds and feed on water, while fire slimes stay in incinerators and eat ash.
What Largos to Create
Slimes mainly eat three types of food: veggies, fruit, and meat.
When you combine two slimes to make a largo, it will eat whatever both of the original slimes ate. For example, if you mix a fruit-eating slime with a meat-eating slime, your new largo will happily eat both fruit and meat. They will also have two favourite foods.
Chickens don’t produce as much as fruit or veggies do. To make things easier, you want to combine meat-eating slimes with those that eat fruit or veggies. This way, you can just feed them all fruit and veggies and skip raising chickens altogether.
If you feed a slime its favourite food, it will drop twice as many plorts. Therefore, you want to set up your gardens to grow each slime’s favourite food.
Pink slimes and saber slimes don’t have a favourite food on their own, but if you combine them with a slime that does, you can still get double the plorts.
Crystal slimes are also a bit tricky because odd onions don’t grow reliably, and you’ll end up with lots of carrots instead. This means you’ll also want to combine crystal slimes with another veggie or fruit-eating slime, so you can have a more consistent food source.
If this all sounds confusing, I made the table below. You want to combine a slime from the left with one on the right.
| Meat Eaters/Other | Fruit and Veggie Eaters |
| Boom slime (meat) Tabby slime (meat) Tangle slime (meat) Hunter slime (meat) Crystal slime (odd onion) Saber slime (none) Pink slime (none) | Phospher slime (fruit) Honey slime (fruit) Quantum slime (fruit) Dervish slime (fruit) Rock slime (veggie) Rad slime (veggie) Mosaic slime (veggie) |
You might also want to think about how you handle the more difficult slimes when making largos. Some players like to combine the dangerous ones together in one area, while others prefer to mix them with calmer slimes.
I wouldn’t worry too much about this, especially if you have tarr turned off. It’s easy to overthink it, but just make vegetarian largos that you like the look or style of!
Experiment! If you change your mind or struggle to keep the largos contained, you can easily try different combinations.
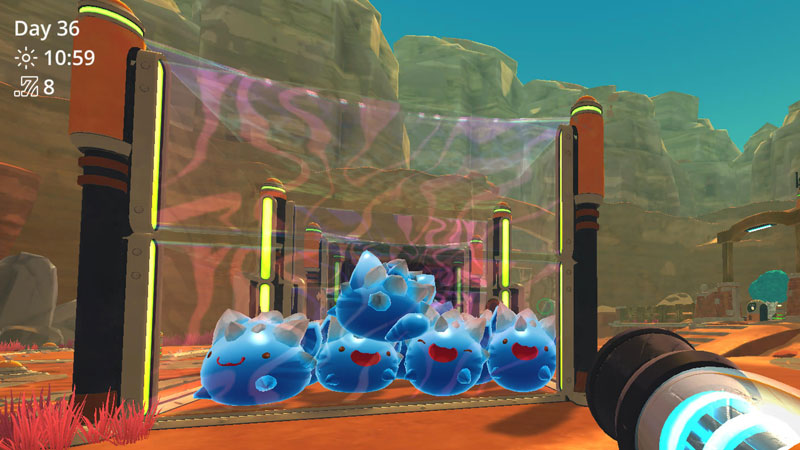
Corrals
Make sure to upgrade your corrals with high walls and air nets to help keep your slimes safely contained.
Adding music boxes, auto feeders, and plort collectors will help keep your slimes happy and make collecting plorts much easier and quicker.
If your slimes are sensitive to light, you’ll also want a solar shield, unless you’re keeping them in the grotto.
Personally, I like to have a garden plot with food ready and a fully upgraded corral before I start adding slimes.
Once everything is set up, just add your slimes, shoot some food into the corral, fill up the auto feeder, and you’re ready to go!
7Zee Rewards Club
On day 7, you will receive a starmail inviting you to the 7Zee Rewards Club.
Each rank costs newbucks, but you’ll get a reward for every upgrade. You can check out the full list of rewards here.
The cost increases with each rank, and it gets pretty pricey towards the end, but you can unlock useful tools and upgrades, like the market link.
This is also how you unlock slime toys, which will reduce slime agitation when you add them to your corrals.
The Ranch Exchange
On your second day, you’ll unlock the Range Exchange. This lets you trade for items like plorts and food, and it’s also how you unlock Ogden’s Retreat, Mochi’s Manor, and Viktor’s Workshop.
Each area has specific requirements to unlock.
After you meet the following requirements, you must complete a trade with that character at the Ranch Exchange to unlock their area. The trade must be done after all of the requirements have been met.
Ogden’s Retreat Requirements
- Have the overgrowth expansion on your ranch.
- Unlocked the Moss Blanket.
Mochi’s Manor Requirements
- Have the grotto expansion on your ranch.
- Unlocked Indigo Quarry.
Viktor’s Workshop Requirements
- Purchased the lab on your ranch.
- Unlocked the Ancient Ruins.
- Unlocked the Treasure Cracker MKIII (you can unlock this after buying the MKII Upgrade and crafting 50 Gadgets in The Lab).
Plots and Ranch Layout
When you first start out, don’t worry too much about your layout. You can always move things around as you expand.
You just need to make sure that for every corral, you have a garden plot to provide that corral with food. If you plan on storing plorts, you might also want to build a silo in each area.
As your ranch gets bigger, you want to work towards having at least seven corrals, one incinerator, and eight garden plots so you can produce every type of plort.
This is because there are 14 different slimes, and when you combine them into 7 largos, each one will have its own corral which grows its favourite food.
The incinerator is for fire slimes as they live in the ash trough.
With eight garden plots, you can make sure every corral (and your incinerator) has its own dedicated garden and plenty of food for your slimes – you don’t want them getting hungry!

You can also build a pond for puddle slimes, or keep them in the natural water found in the docks.
As you start automating, it helps if all largos in a single area eat the same type of food, either all fruit or all veggies. This makes things easier when you start using drones to automate your ranch, since each basic drone can only deliver one kind of food.
As you progress, you can keep adding new corrals and gardens whenever you like, especially once you unlock other ranches.
You might also want to try creating free-range areas without corrals!
Hitting certain requirements and completing tasks for Ogden Ortiz and Mochi Miles at the range exchange lets you unlock their ranches, which you can then teleport to. After finishing their tasks, you’ll get access to extra plots on their ranches. Unlocking Viktor’s Workshop also leads to four more usable plots.
Things to Consider When Planning Your Ranch Layout
Just to complicate things even further, some slimes have special abilities that might affect how you set up your ranch, especially if you’re playing with tarr.
If this all feels a bit much, don’t stress, especially if you’re playing in casual mode, because stray plorts won’t matter. Autofeeders and plort collectors will help a lot with the following behaviours too!
Boom largos: Boom slimes can explode, sending their plorts and each other flying out of the corral, so it’s best to keep them in a plot away from other slimes. Their explosions can also damage your health.
Hunter largos: Hunter slimes can sense food from far away, so you might want to keep them out of the Overgrowth, where chickens spawn.
Quantum largos: Quantum slimes can teleport out of their corral. While they won’t teleport into other corrals, it’s still best to keep them separate and make sure they’re always well fed. I like to keep mine in the grotto, as if they escape, they’re still contained there.
Dervish largos: Dervish slimes are easy to manage if they’re well fed, but they can create tornadoes, which can be a pain if they escape.
Tangle largos: Tangle slimes use their vines to grab food, so if they’re too close to a food source or another corral, they might steal food and plorts. This can lead to unwanted largos or tarr. They’ll also steal chickens in the Overgrowth, but this will only affect their plort output since Hen Hens aren’t their favourite food. Tangle slimes can also agitate other slimes with their pollen, another reason why it’s best to keep them separate from other corrals.
Mosaic largos: Mosaic largos create sparkles that attract other slimes. This usually isn’t a big problem, but you can stop it by using a solar shield or keeping them in the Grotto, since the sparkles only appear in sunlight.
Honey largos: The plorts from honey largos are especially tempting to other slimes. Using a plort collector will help, but you will need to make sure it’s regularly emptied.
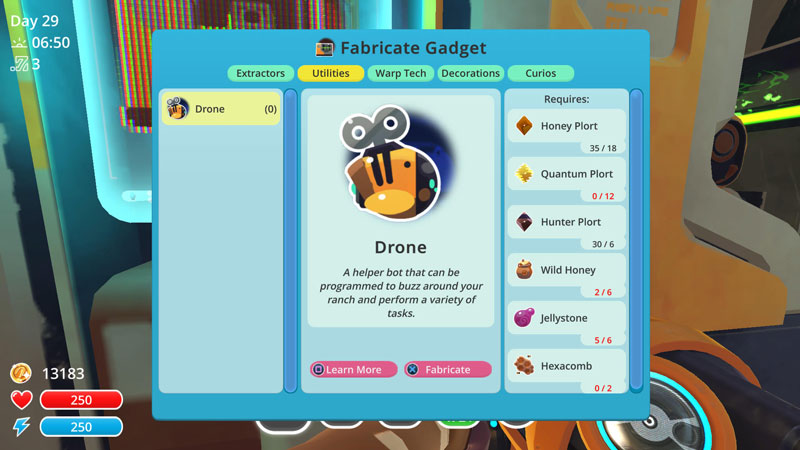
Automating Your Ranch
Once you’ve unlocked the lab, you can work towards automating your ranch with drones.
Each area can have up to two drones. One to handle feeding and another to collect plorts.
You can unlock the Advanced Drone blueprint by trading with Viktor at his workshop once you reach Tier 2. These upgraded drones can be set to do two different tasks instead of just one.
Drones take a lot of the work out of ranching, but you do need to remember to recharge them with water.
A Step By Step Guide to Getting Started
If you’re not sure where to begin and need clear goals, I’ve put together a simple guide to help you get started.
1. Make some money
To get started, you’ll want to earn some newbucks for your first corral. Head outside your ranch and gather as many plorts as you can carry, then bring them back to sell at the plort market.
Making a few trips is a simple way to build your funds and get familiar with the area without worrying about slimes right away.
You might also want to think about upgrading your Vacpack so you can carry more plorts.
Tip: Remove any free-roaming unwanted slimes from your ranch to avoid tarr outbreaks!
2. Get some pink rock largos
Build your first corral and upgrade it to keep your slimes contained. In this corral, you’re going to keep pink rock largos – a maximum of six. To make largos, feed a pink slime a rock plort, or give a rock slime a pink plort.
These largos will eat anything, so collect any food around your ranch or in the nearby area and feed them. Collect their plorts and sell them at the plort market.
3. Get a garden
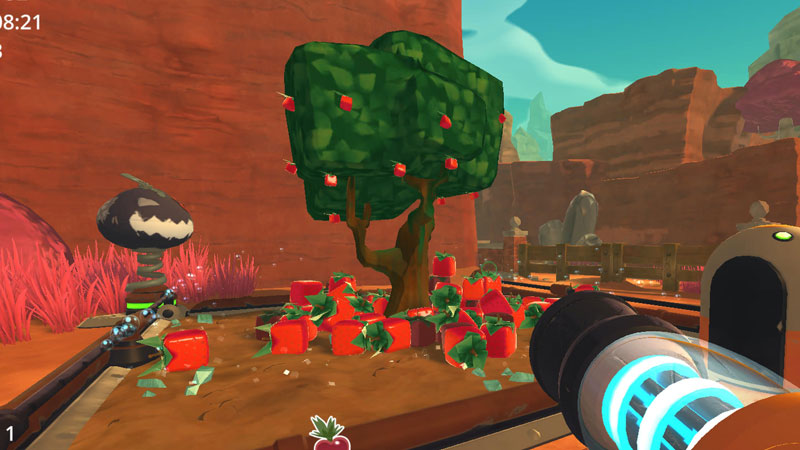
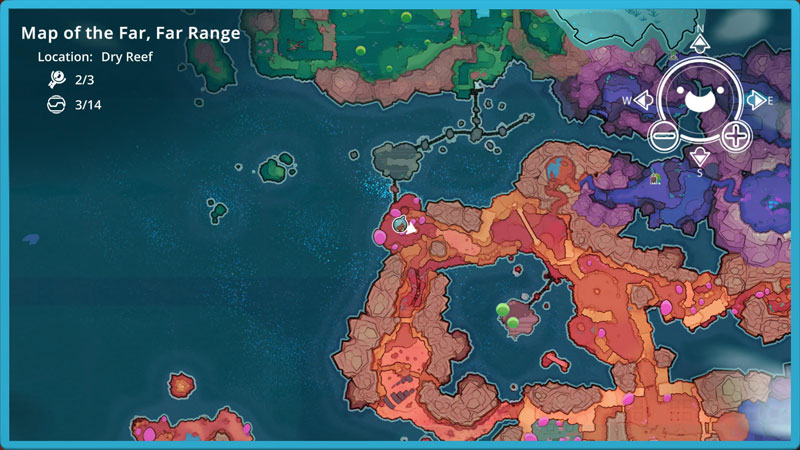
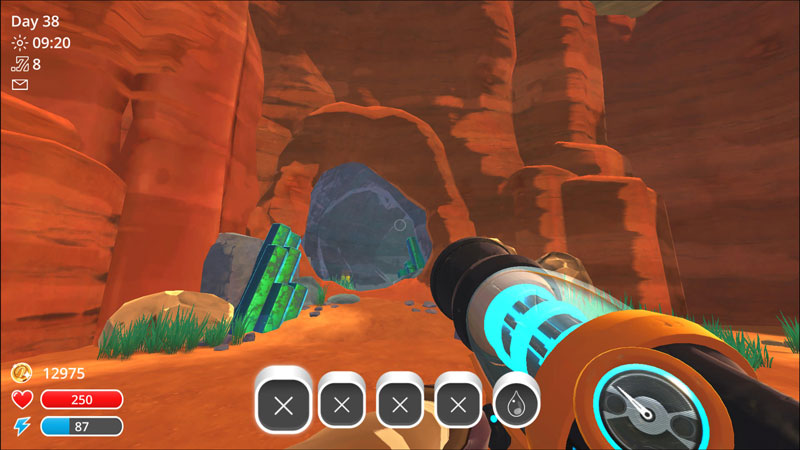
To keep your largos happy, you’ll need a steady supply of their favourite food – Heart Beets. Start by buying a garden on a nearby plot.
You can find Heart Beets just outside the Ranch, up on a small rocky plateau to the left (see below). It’s easier to reach with a jetpack, but you can get there without one if needed. If you want the jetpack, which I recommend, buy the upgrade at the Vacpack Upgrades machine on your ranch.

Once you have a Heart Beet, plant it in your garden plot by shooting one into the machine. You’ll soon have a steady supply of food for your slimes!
Don’t forget as you go through these steps, keep feeding your slimes and collecting plorts to sell for newbucks.
4. Add some phospher tabby largos
Next, make a corral and fill it with phosphor tabby largos. Phosphor slimes only appear at night and will need the solar shield upgrade for their corral.
Their favourite food is Cuberries, so set up a garden nearby. If you’re short on money, just keep collecting plorts and selling them at the market until you have enough.
5. Upgrade your corrals and gardens
Between feeding and collecting plorts from your slimes, head out and collect even more plorts to sell at the plort market.
Use the newbucks you earn to upgrade your corrals, including the auto-feeder and plort collector. Upgrade your gardens as well, so they produce enough food to keep your slimes happy.
Now you can explore even further and your slimes will be well fed and their plorts collected!
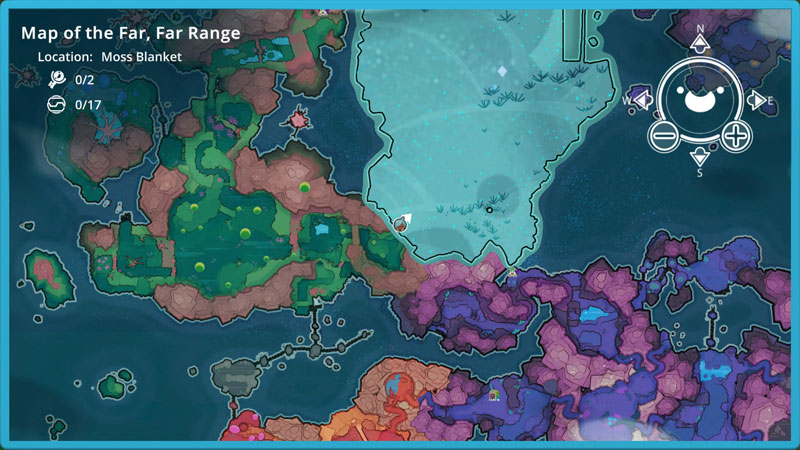
6. Unlock the Moss Blanket
To get your first slime key, you need to feed a gordo. You can check a list of all gordo locations here. Once you have the key, use it to unlock the Moss Blanket. This area has new slimes that produce more valuable plorts that can be added to your ranch.
You will need honey plorts and hunter plorts to craft drones later on, both of which can be found in this area.
7. Unlock the lab & Indigo Quarry
As your ranch expands and you open up new areas, keep collecting newbucks so you can unlock the lab as soon as possible. The lab introduces slime science, where you can use your plorts to craft and work toward automating your ranch.
As you save up your newbucks to unlock the lab, you’ll also need to unlock Indigo Quarry to gather resources. To do this, feed a gordo to get another slime key.
Once you’ve unlocked the lab, you can start using plorts to create gadgets, as well as selling them at the plort market.
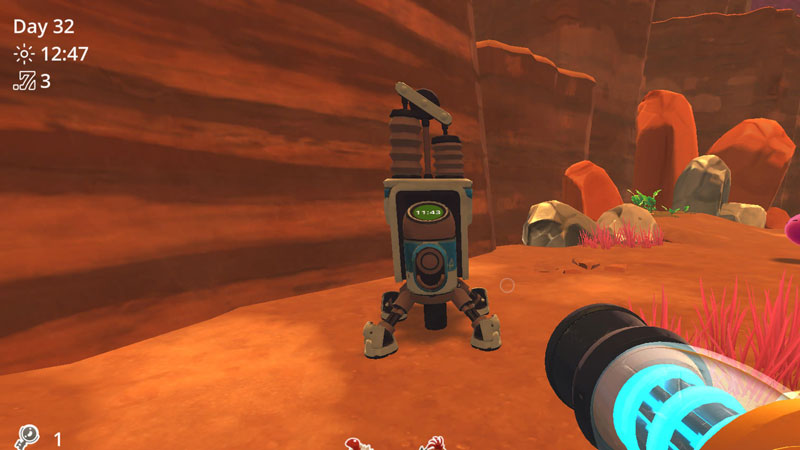
8. Start collecting resources
Once you have access to the lab, pick up blueprints for the novice drill, apiary, and pump. These extractors allow you to collect important resources for crafting. After 5 days, the advanced blueprints will become available, allowing you to collect even more materials.
Tip: Upgrading your apiaries will give you more resources and a better chance to find uncommon and rare items like hexacomb for your drones.
Each extractor has a unique resource tied to a specific area, and so you need to place the drill in Indgo Quarry, the pump in the Dry Reef and the apiary in the Moss Blanket.
You’ll want to keep crafting apiaries and drills, and regularly collecting their resources for drones.
9. Unlock The Ancient Ruins
Unlocking the Ancient Ruins will give you access to quantum slimes. You will need the plorts from these slimes to build drones to automate your ranch.
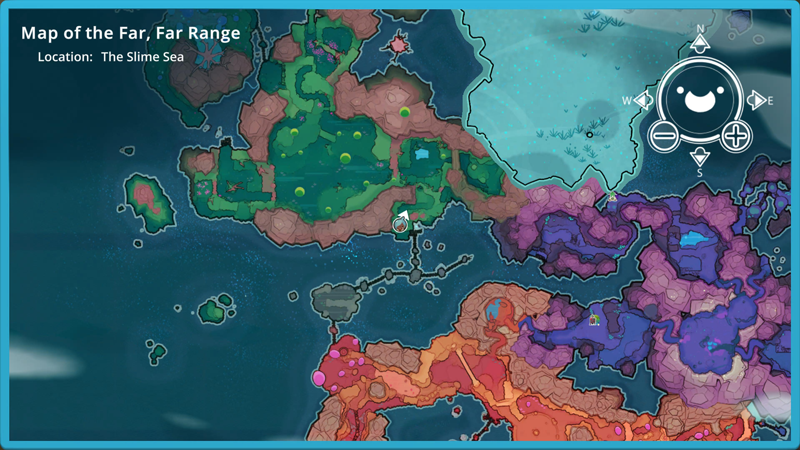
The simplest way to get to the Ancient Ruins is through the Moss Blanket, though it can also be reached via the Indigo Quarry.
When you first enter the Moss Blanket, head right and continue forward until you reach a wooden ramp. The door to the ruins is at the top. To unlock it, you’ll need a slime key.
Once opened, you will need several plorts to open a second door. Collect Tabby, Phosphor, Honey, Boom, Rad, and Rock plorts, then place each one into its matching statue to open the way into the Ancient Ruins.
10. Automate you ranch
To start automating your ranch, you’ll need to build drones. If you’ve already completed the earlier steps, you should be on your way to gathering all the resources you need.
You’ll get plorts from the slimes you collected when you unlocked the new areas. Keep collecting wild honey and hexacomb from the apiary in the Moss Blanket, and jellystone from your drills in Indigo Quarry.
Tip: Try placing your drones central to the area so they have less distance to travel.
After you automate your ranch, you can explore more, unlock new areas, collect more slimes, and work your way to the end credits!
Slime Rancher Guide
I hope you found this Slime Rancher guide helpful!
If you have any tips for other players, feel free to add them in the comments of this post.