Wylde Flowers: Everything You Need to Know About The Gloaming
Wylde Flowers is a farming RPG with a dash of fantasy. Along with the typical spots such as the beach and the woods, players can explore more magical places like the Gloaming!
The Gloaming, a magical realm that unlocks and evolves as the story progresses, is an essential part of the main Wylde Flowers storyline. Here’s everything you need to know about the Gloaming and what you can find on each pillar!
You might find my other Wylde Flowers guides useful here:
A Wylde Flowers Guide to Bees and Honey
How to Make the Most Money With Crops in Wylde Flowers
Where is the Gloaming?
You’ll find the Gloaming at the top of the steps next to the magic circle. Simply interact with the stone circle to enter, once you’ve repaired the standing stones.
As the story progresses, pillars will unlock. They are each represented by a different color: green (pillar one), pink (pillar two), and purple (pillar three). Choose a color to enter the pillar of your choice.
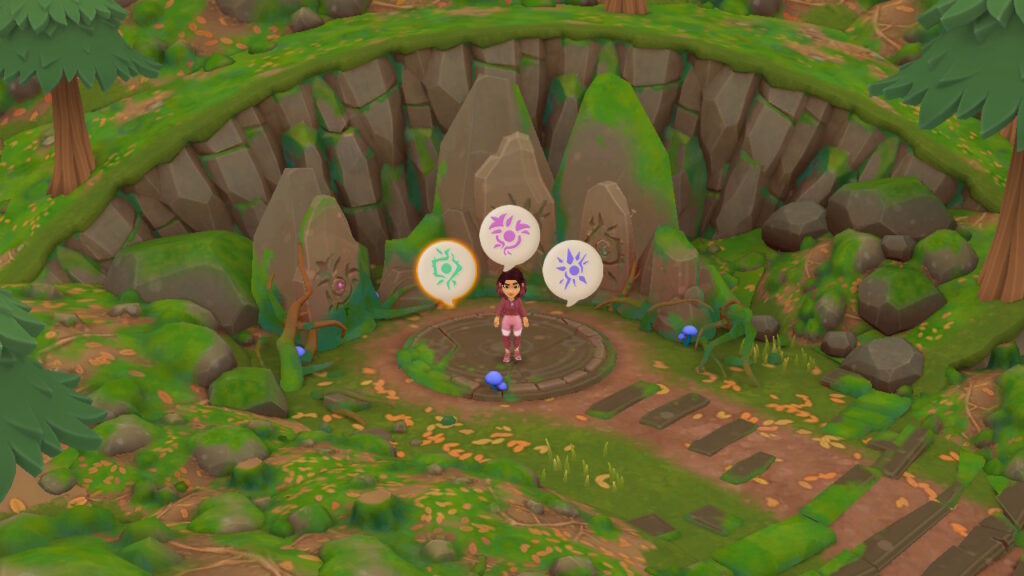
If you’re new to the Gloaming, you’ll only see one pillar until you unlock the rest.
What is the Gloaming?
The Gloaming is a mystical realm where Tara can find unique items needed for quests and crafting.
These magical items can only be found in the Gloaming, but it’s not always clear how to find them, so I wrote this guide!
How Does the Gloaming Work?
The Gloaming works like the ‘normal’ world with fishing, foraging, and farming! But there are a few significant differences.
When you first begin your adventure in the Gloaming, some areas will be blocked and covered by giant spiderwebs. Don’t worry, as you progress through the story, you’ll unlock these areas and have access to all areas of the Gloaming.
As you journey through the Gloaming, you will encounter vines blocking your path. To get past them, you’ll need to cast a spell using magic from the wellspring, so make sure it’s topped up!
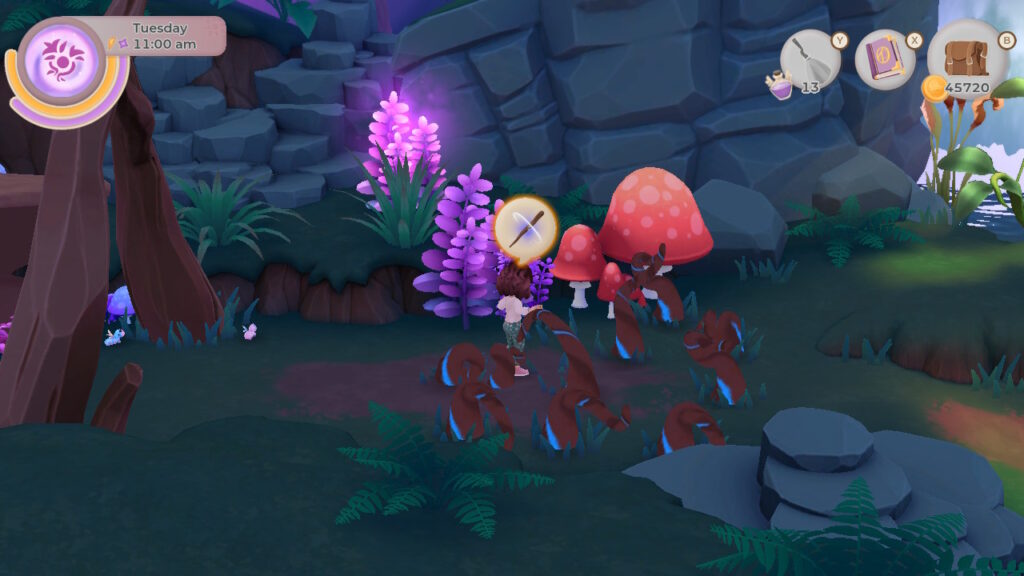
You can also take your time exploring and gathering resources, as time stops once you enter the Gloaming.
Pillar One – Green
Garden Beds
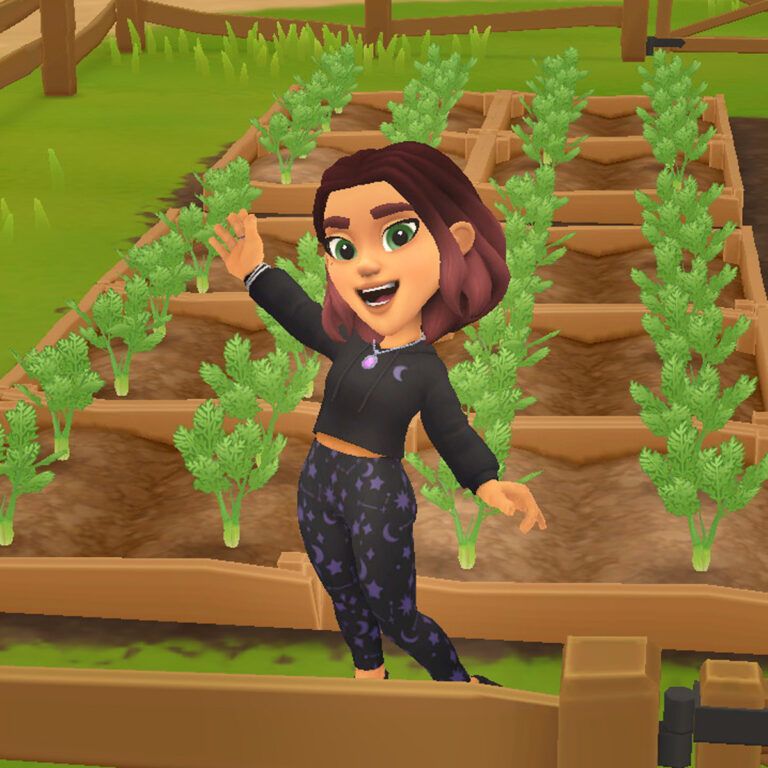
In pillar one, you can find garden beds where you can grow enchanted flowers.
Upon entering the Gloaming, a path veers off to Tara’s right. Here you will find three garden beds and a well to fill your watering can.
If you are new to the Gloaming, a spiderweb will block this path until you advance further in the main storyline.
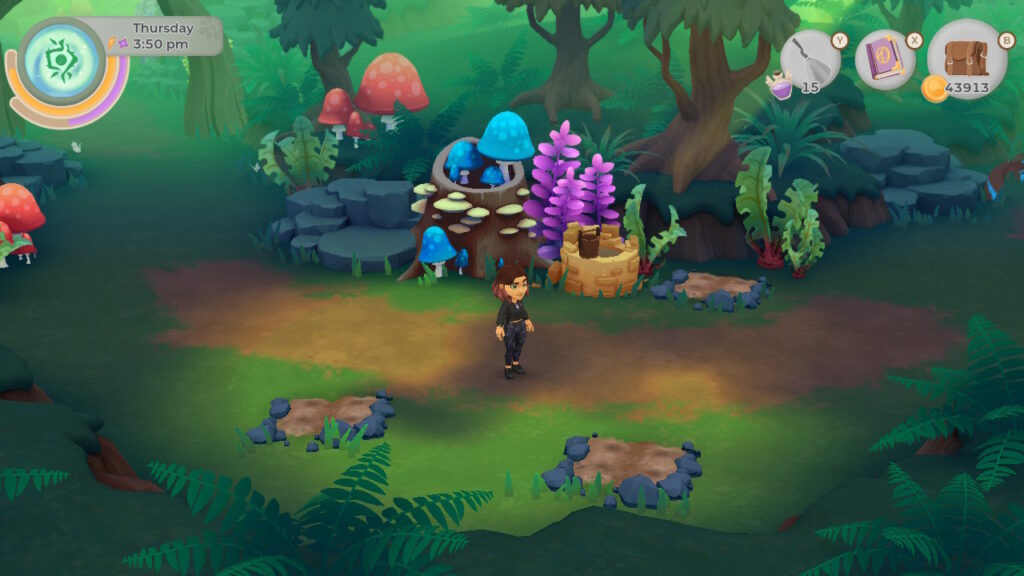
Peri supplies the magical seeds that you can plant here, including anemone seeds and moly seeds that you will need for quests.
It’s important to visit the Gloaming every day to water your seedlings in order to prevent them from wilting. There’s a well by the garden beds so you can refill the watering can.
Trompette de la Mort Mushroom
To find the Trompette de la Mort, you’ll need some shrinking and stretching potions. You can brew these right in your basement cauldron.
Once you have the potions, head to the fae circle using the pathway next to the bean bridge (or garden plot if it still needs to be grown).
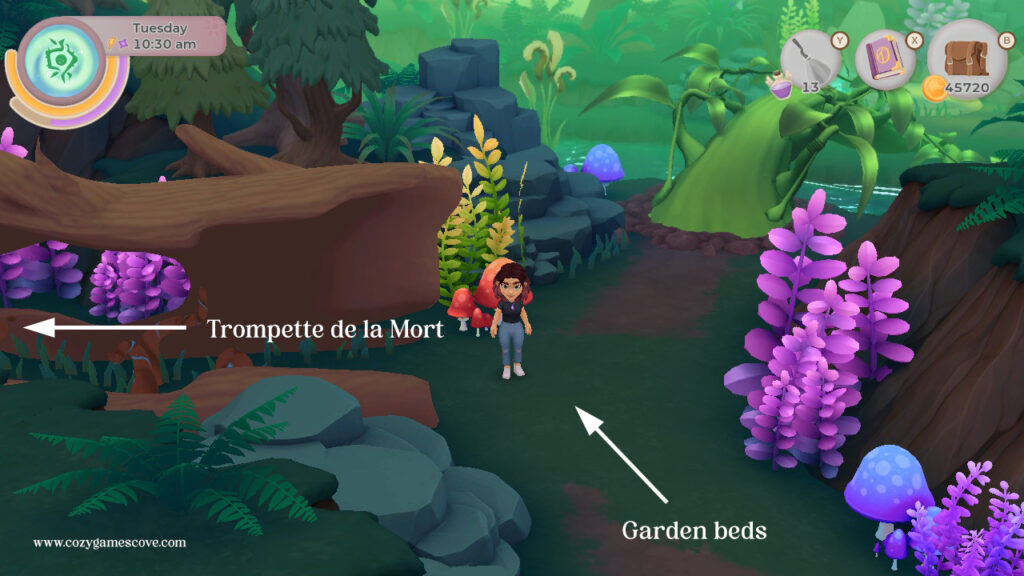
This is located just past the garden beds.
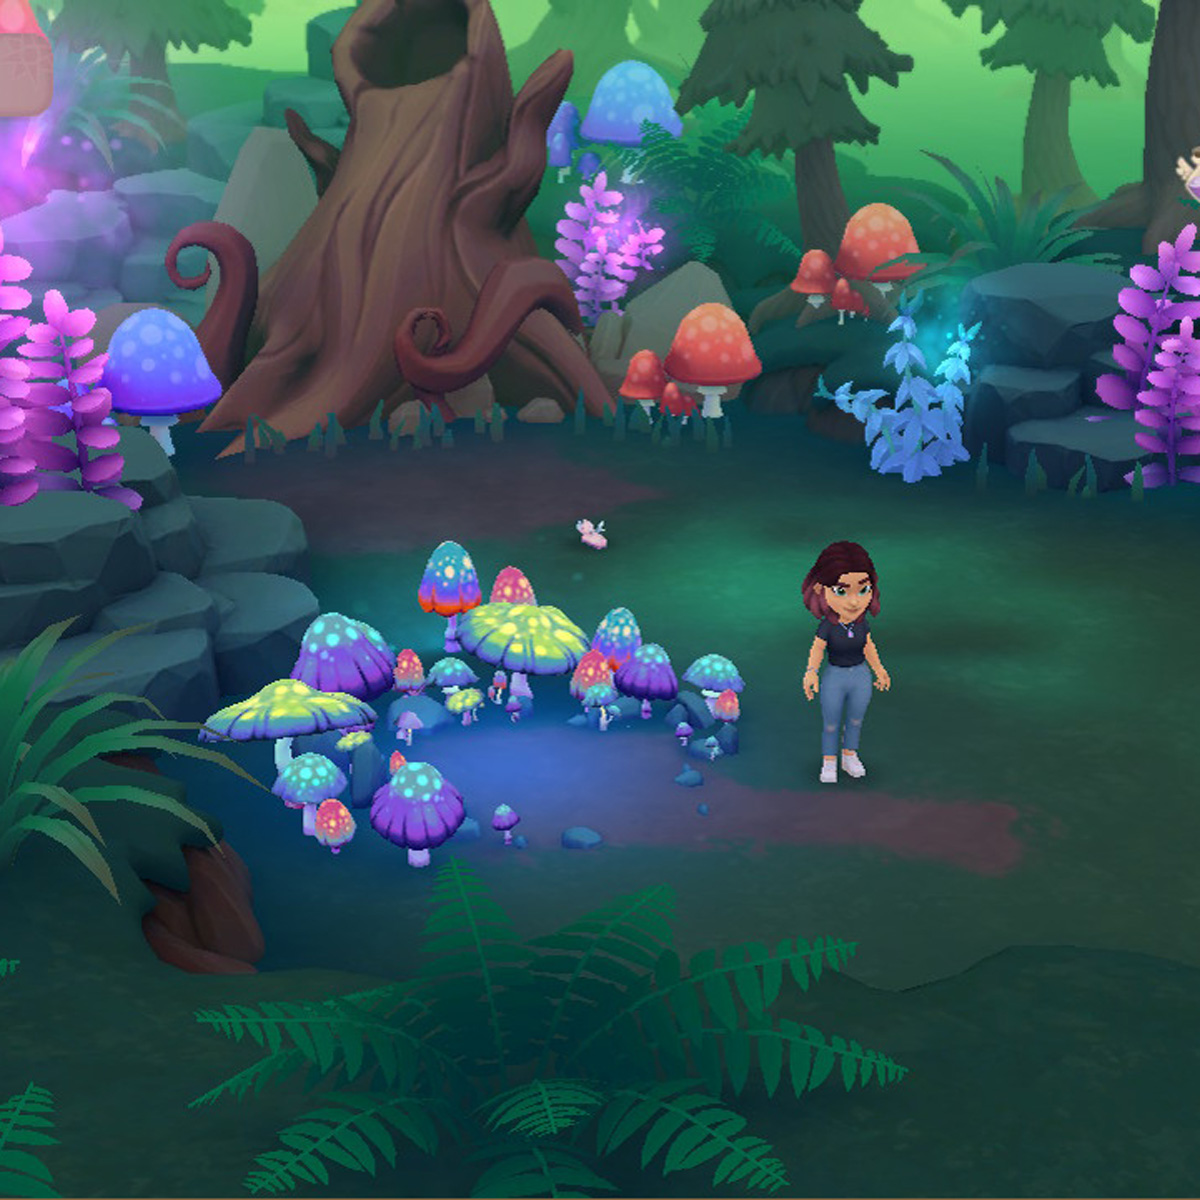
Where the path veers to the left through a large hollow tree trunk, you’ll find a colorful ring of glowing mushrooms where you can use your potions to find the mushroom.
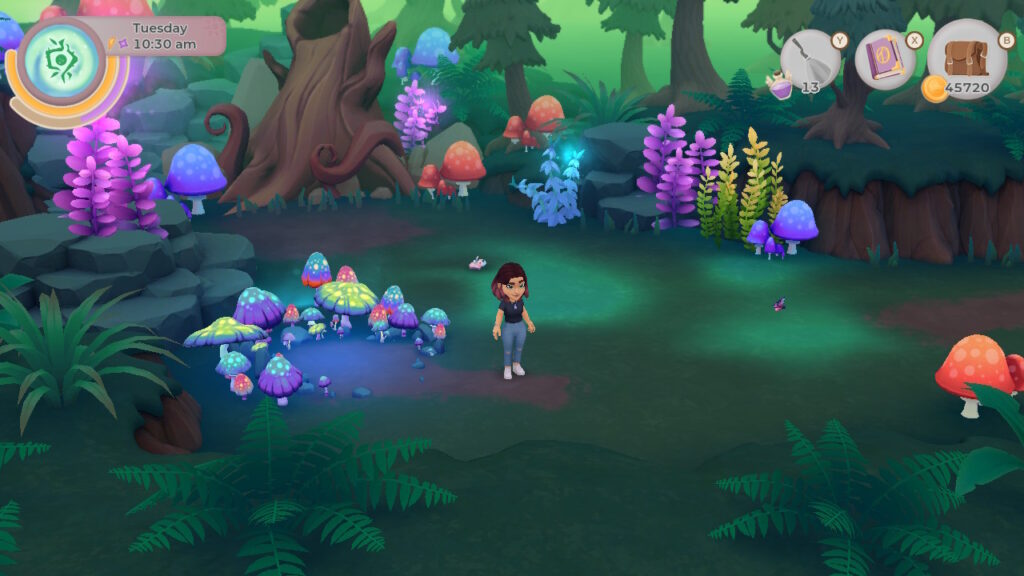
Trompette de la Mort Tip: Don’t forget to collect all the mushrooms before you exit the fae circle!
Magic Bean Bridge
Just past the garden beds and up by the river, there is another plot of soil. Plant a magic bean and water it daily to grow a bridge.
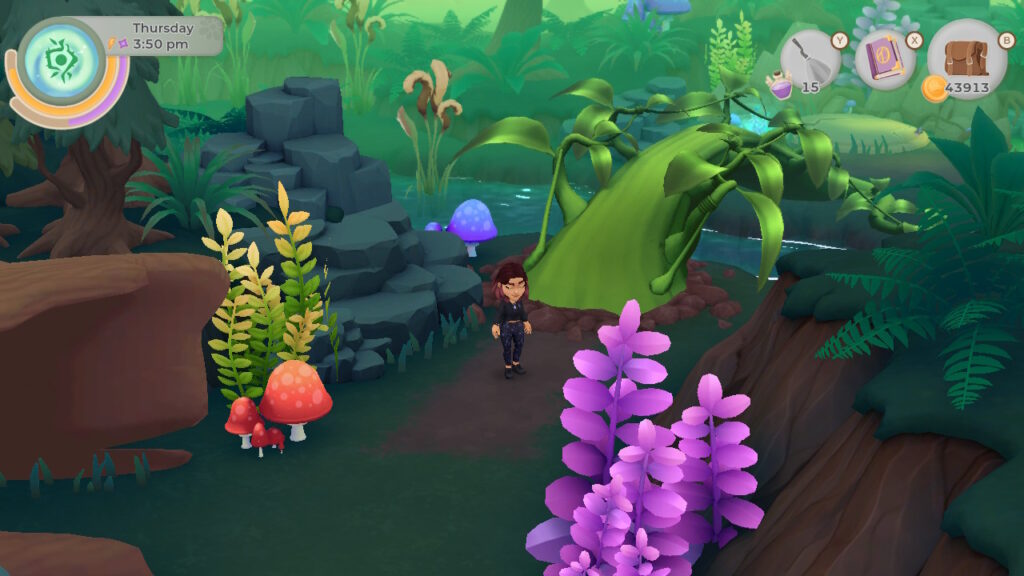
Once the bridge has grown, you can access the garden beds without relying on magic from the well.
Important: Magic beans will wilt like any other crop if you don’t water them daily. Peri stocks magic bean seeds and you will only need two – so don’t stock up!
Well Spring
If you need to top up your magic, there’s a wellspring straight ahead of where you enter the Gloaming.
It’s just after a set of vines, so it will cost you some magic to reach it.
Pillar Two -Pink
Woolweed
Woolweed is easy to find as it’s straight ahead of where Tara enters the Gloaming in pillar two.
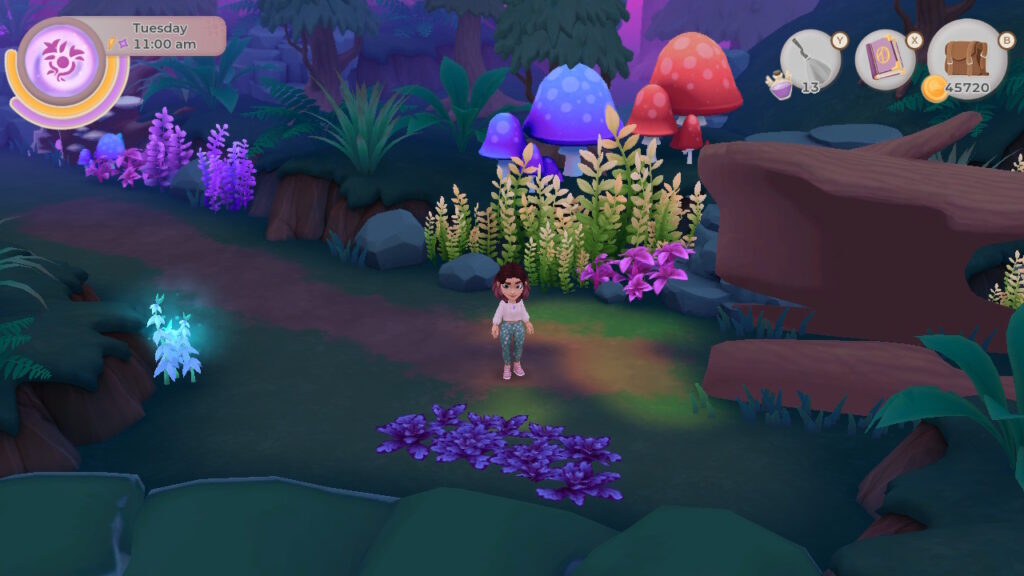
You can find up to four patches of woolweed, and once gathered, it regenerates one patch daily.
Wolfsbane
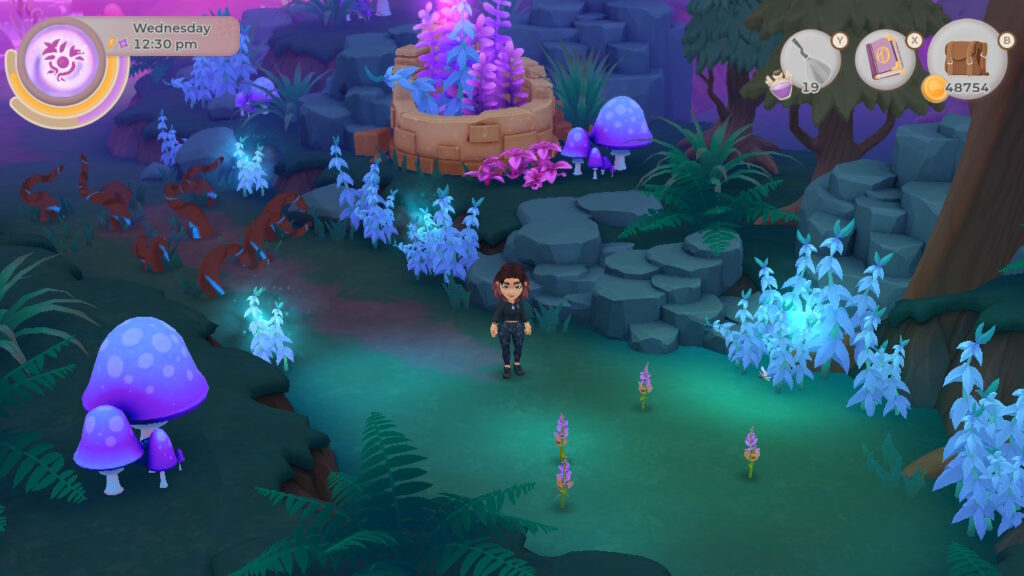
For those searching for wolfsbane, it’s deep within the second pillar of the Gloaming. To reach it, you’ll need to cross the river.
If you still need to build the magic bean bridge, use a levitation potion to cross the lily pads.
Tip: Make sure you brew some levitation potions in advance! You can create them in the cauldron in Tara’s basement.
Once you’ve crossed, the pathway forks into two. Take the downward path, pass through the vines, and find four wolfsbane.
Complifish
The Gloaming also has fish – complifish! There are two fishing spots in the Gloaming, both in pillar two.
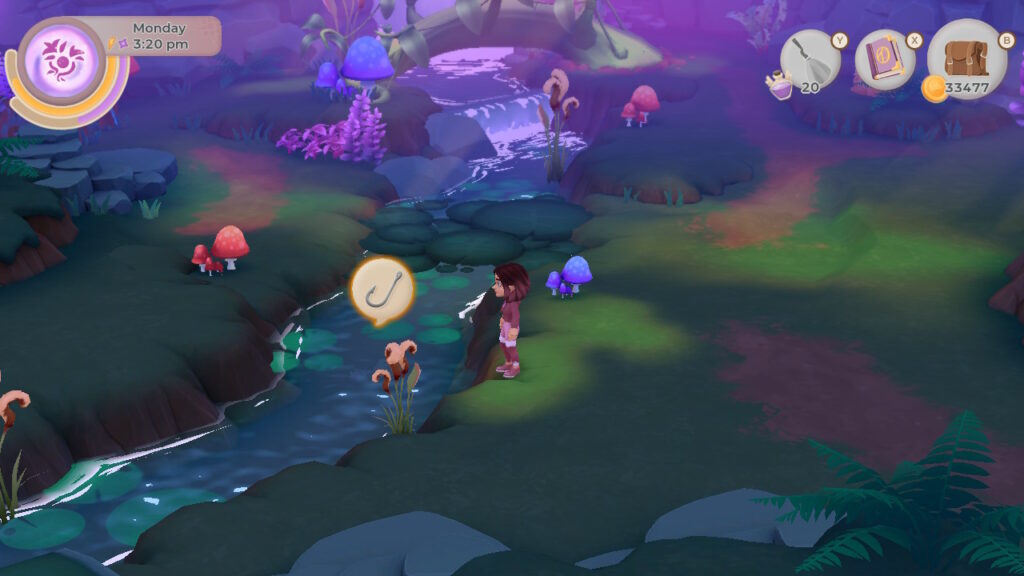
The first is next to the lily pads, and the second is down the pathway opposite the lily pads.
Tip: When fishing for complifish, any bait will do, so opt for the cheapest to save resources!
Adder Stone
You’ll need an adder stone to change the season from Winter to Spring.
This special stone can be found behind the complifish pond, mined from a rock.
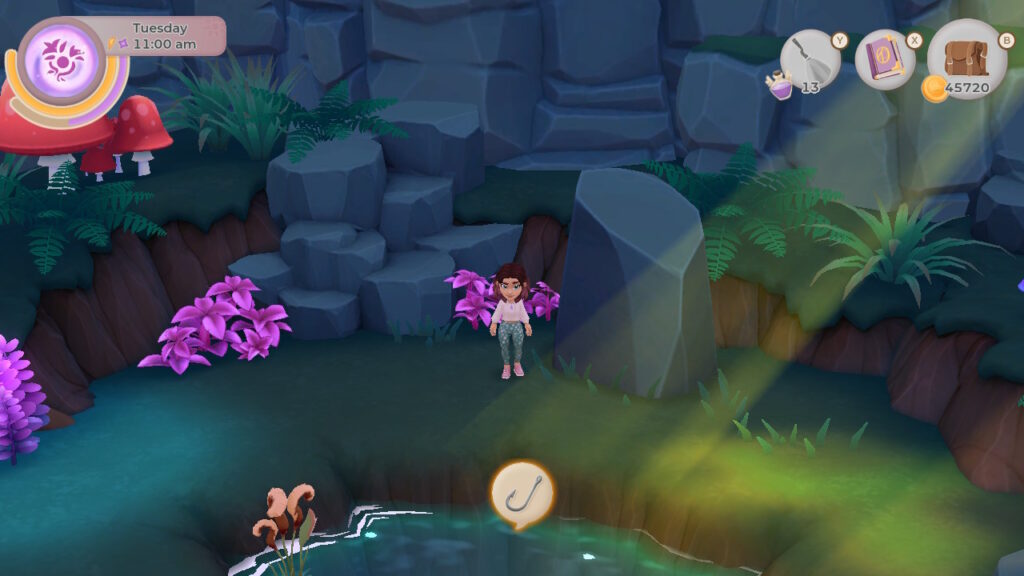
The first time, it is gathered as part of the story, but anytime after, you need to use a reverse time spell to restore the rock. After that, it can be broken to retrieve the adder stone.
Magic Bean Bridge
Plant a magic bean in the garden bed near the waterfall. This will grow into a bridge so that Tara won’t need a levitation potion every time she crosses the water.
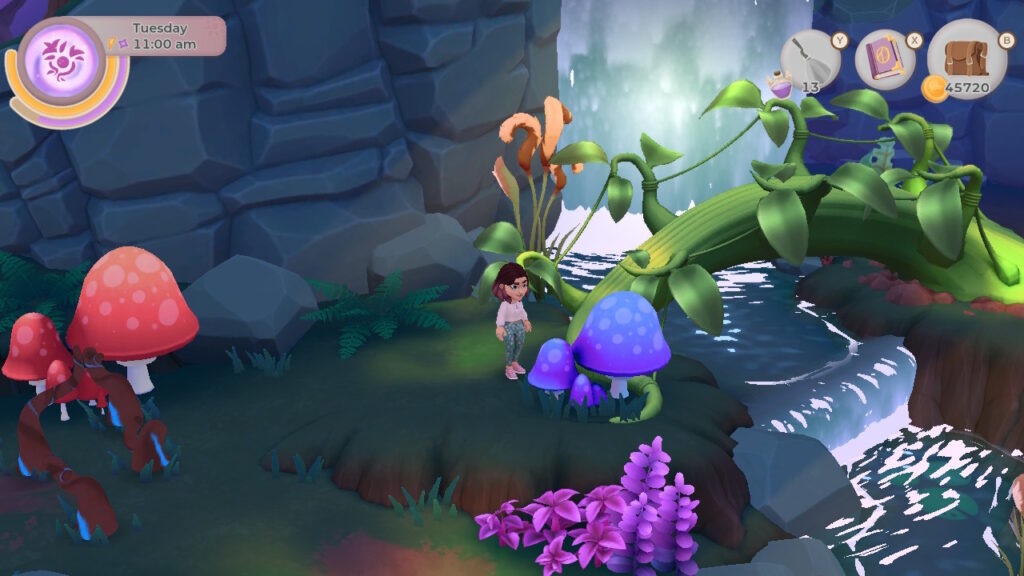
Important: Remember to water your seeds daily or they will wilt! You can buy magic bean seeds from Peri and will only ever need two – so don’t stock up!
Pillar Three – Purple
Dragon’s Blood Vial
Head through the Gloaming until you reach the fork in the pathway. Take the lower path, and you’ll discover a set of dragon blood trees.
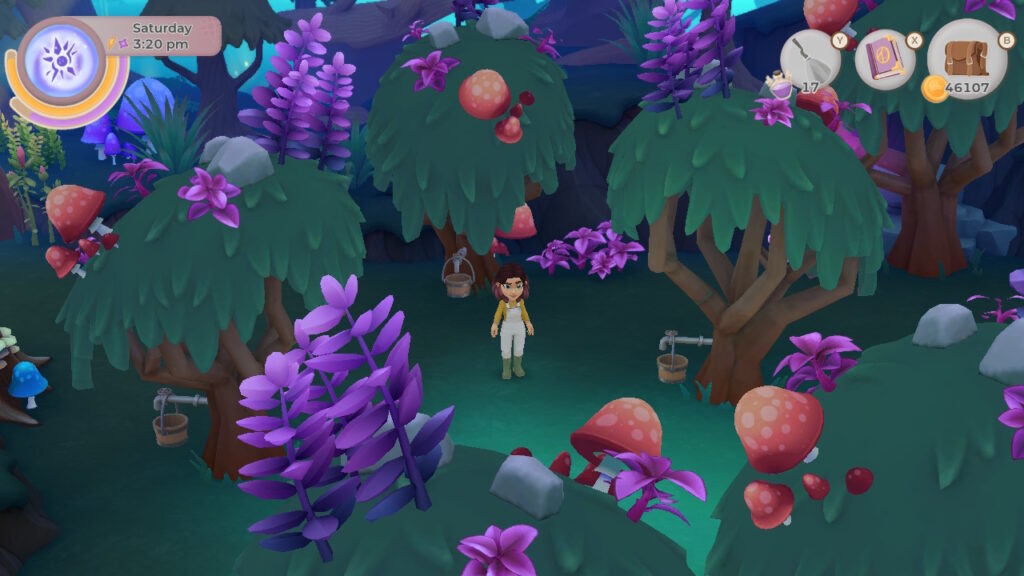
Attach a spile to the tree and return in eight days to collect the dragon’s blood vial.
Dragon’s Blood Vial Tip: Spiles are made at the metalworking table in the tool shed. There are eight dragon blood trees, so you should stock up on spiles to tap all the trees.
Still Have Gloaming Questions?
I hope you found my guide to the Gloaming useful!
Let me know in the comments, and if you have any questions, I’ll do my best to answer them!

